These easy stockings from old sweaters are an simple way to make stockings! Anyone can make them. Do your kids like to count down to Christmas? This DIY advent activity would be a perfect gift or fun activity to do with your family. Now is the time to plan a handmade gift. I have gathered some of the most talented bloggers to share handmade gift ideas with you, don’t miss them and make someone feel extra special.
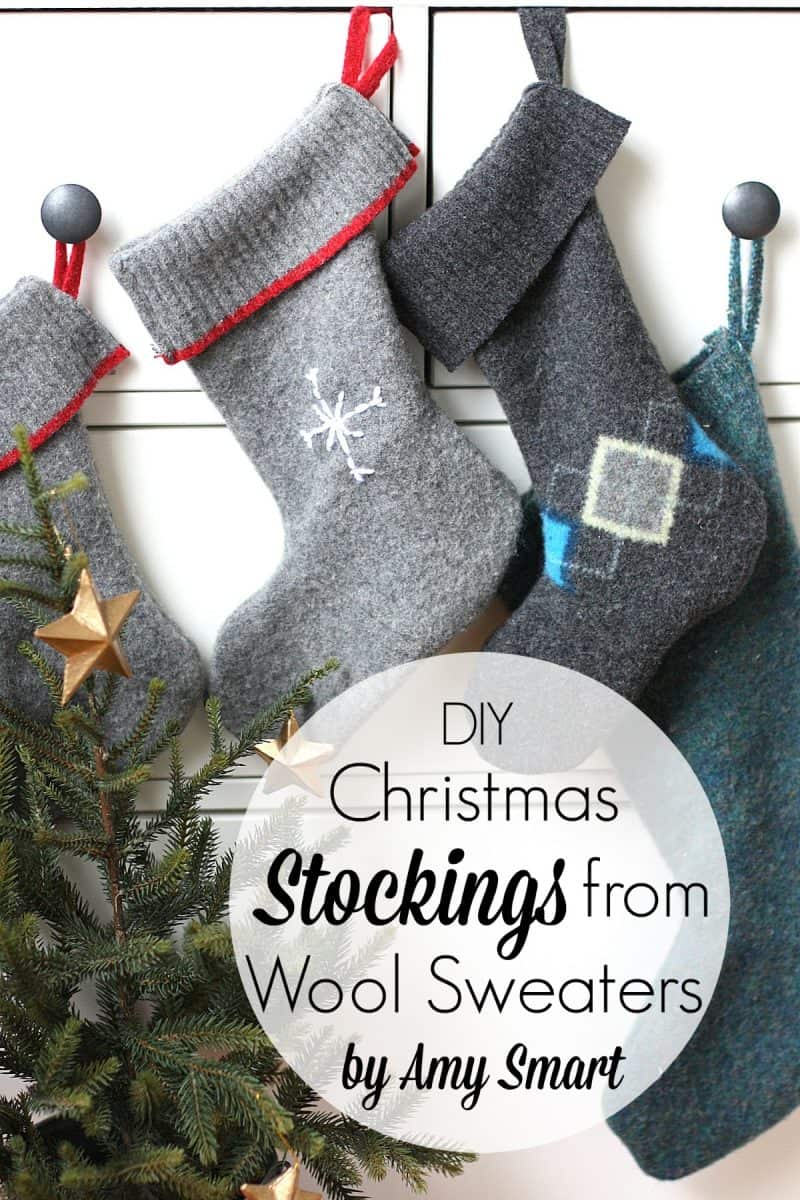
Hi! I’m Amy Smart and I write about sewing and quilting on my blog, Diary of a Quilter. I love all things handmade, but I’m also all about finding the fastest and most efficient way to do things! I’m so excited to share a fun and easy project with all of you! I love the look of wool stockings. Always classic. Since A) I’m not a knitter and B) I’m always looking for ways to do things the easy way, I made all of these stockings from wool sweaters from the thrift store!
 Obviously, cutting into sweaters could be tricky because those knit stitches could easily unravel. Enter the use of felted wool. The process to felt wool is so simple. First of all, when choosing sweaters for this project, look for sweaters that are 100% Wool (or very close to 100%.) Cashemere and Lamb’s Wool will also work, but the finished fiber will not be as thick.

Why 100% wool? Have you ever accidentally washed a favorite wool sweater only to have it come out of the dryer looking like it was meant for pet instead of a person? Yep, wool shrinks! But for our project today, that is a good thing! When the wool fibers are washed and shrink, they become a solid piece of fabric that can be cut up without unraveling. It’s pretty cool.
When you go to wash your wool items, use the HOT water setting. Use a small squirt of dish soap instead of laundry detergent. Be aware that these wool items will shed, so wash with like colors or put each item in a pillowcase to keep the loose fibers from getting all over other items in the wash. Then dry on the highest heat setting. Clip an edge of the sweater you want to repurpose and make sure the threads don’t start to unravel. If they do or the fibers still seem a little loose, you may want to do the washing/drying process again. (More tips for felting wool in this post.)

The wool is “felted” when it feels thicker and more dense/almost solid. Then you’re ready to use this gorgeous textile and start cutting it up without worrying about unraveling. With this cardigan I cut out the zipper first, to help the wool lay flat before cutting out my stocking pattern.

Print or draw your own stocking template. (I have a stocking template here.) If you draw your own, make sure to add 1/2″ seam allowance to the finished stocking size. Pin pattern/template in place covering two layers of fabric. You can use any area of the sweater that the template will cover. I like to use the finished sweater edge as the top edge of my stocking, so this layout seems to work best.
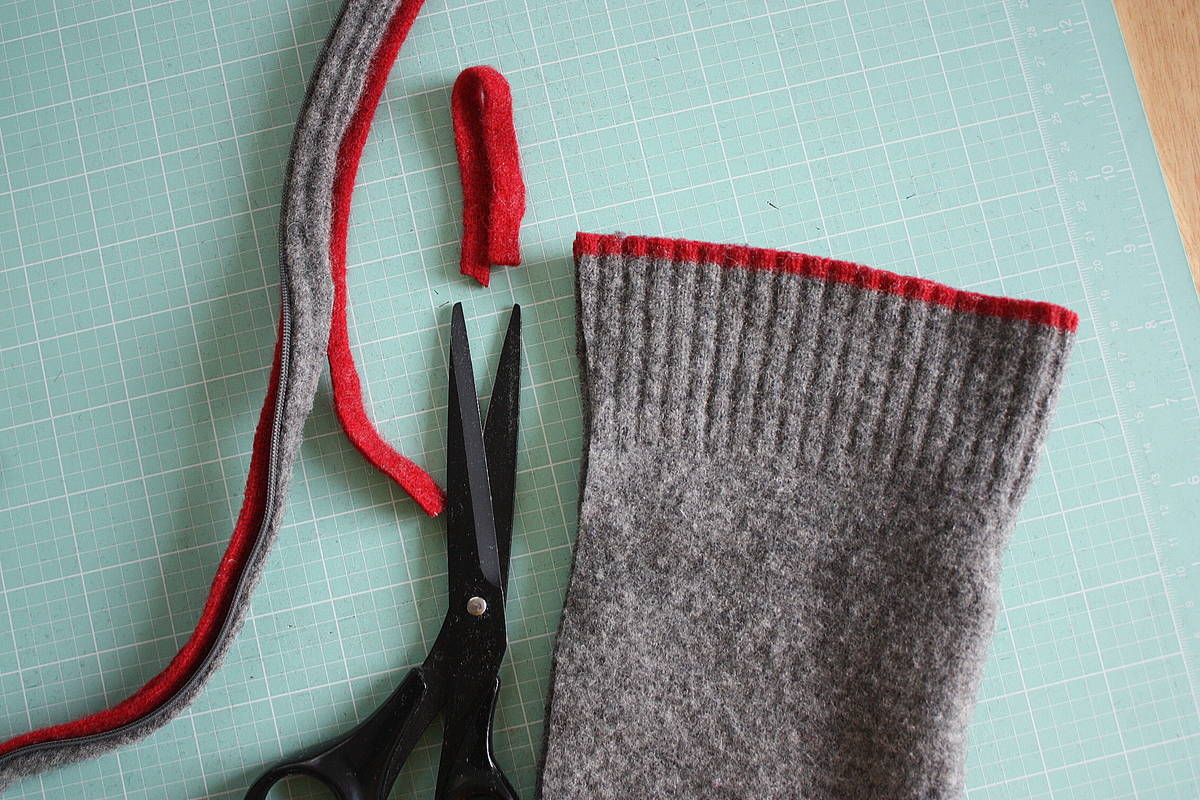
Cut a 4″ strip from the remaining wool to serve as a hanging-loop.

If you are not making a fold-down cuff, fold the loop in half and pin about 1″ down from the top between the two layers where the seam will go along the outside edge of the stocking.
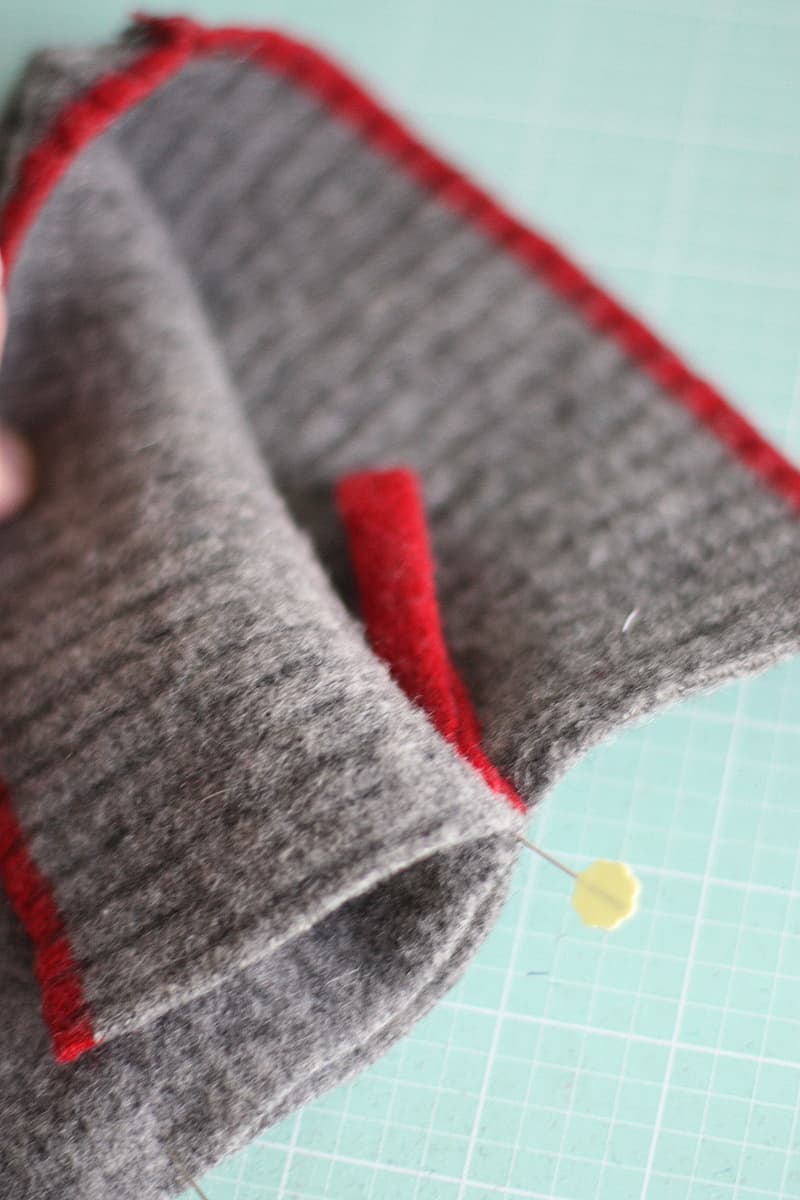
If you are turning the edge down for a cuff, pin the loop inside the seam at the top of where the cuff will begin.
With right-sides together, pin along outside edges. (Sometimes you can use pre-existing seams, depending where you cut out the pattern pieces.) Sew outside seams using a 1/2″ seam allowance.
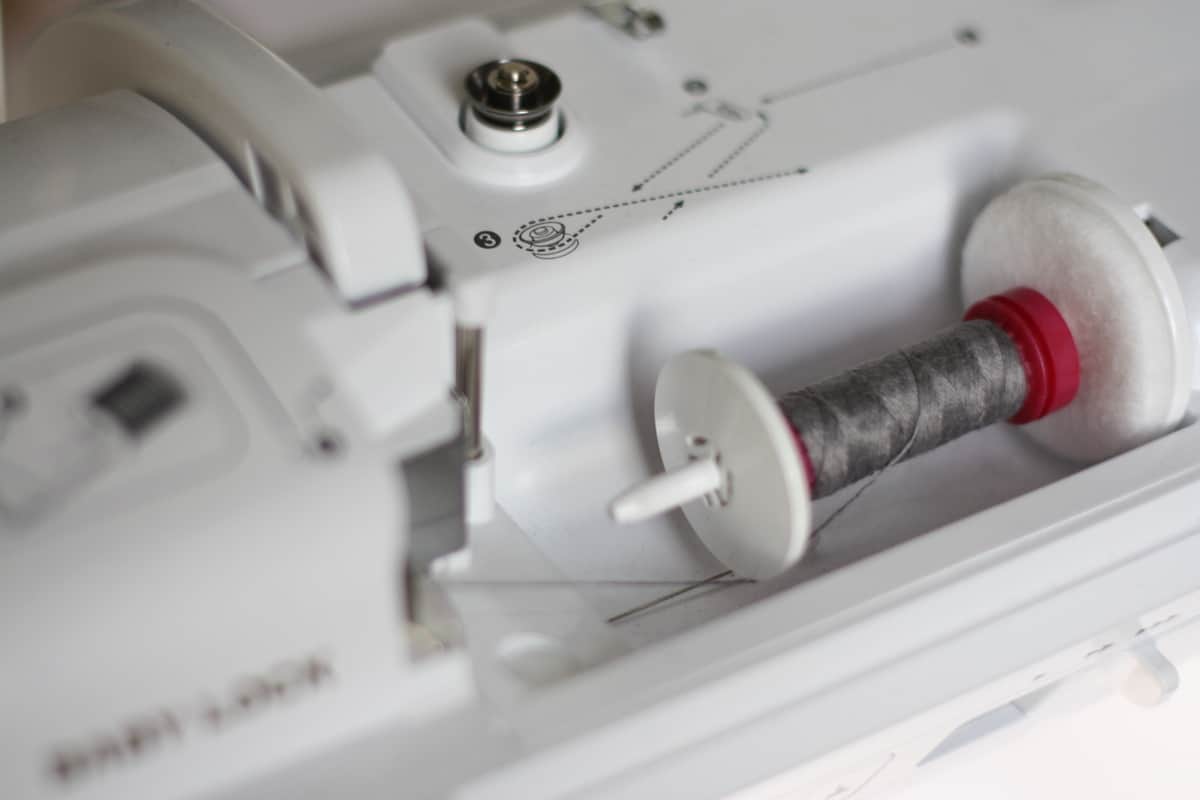
It’s not essential, but I like to use wool thread for this project. If you don’t have wool thread, use a heavier-weight/thicker thread. I also recommend a needle for Knits as it has a bigger eye so it’s easier for threading thicker thread.
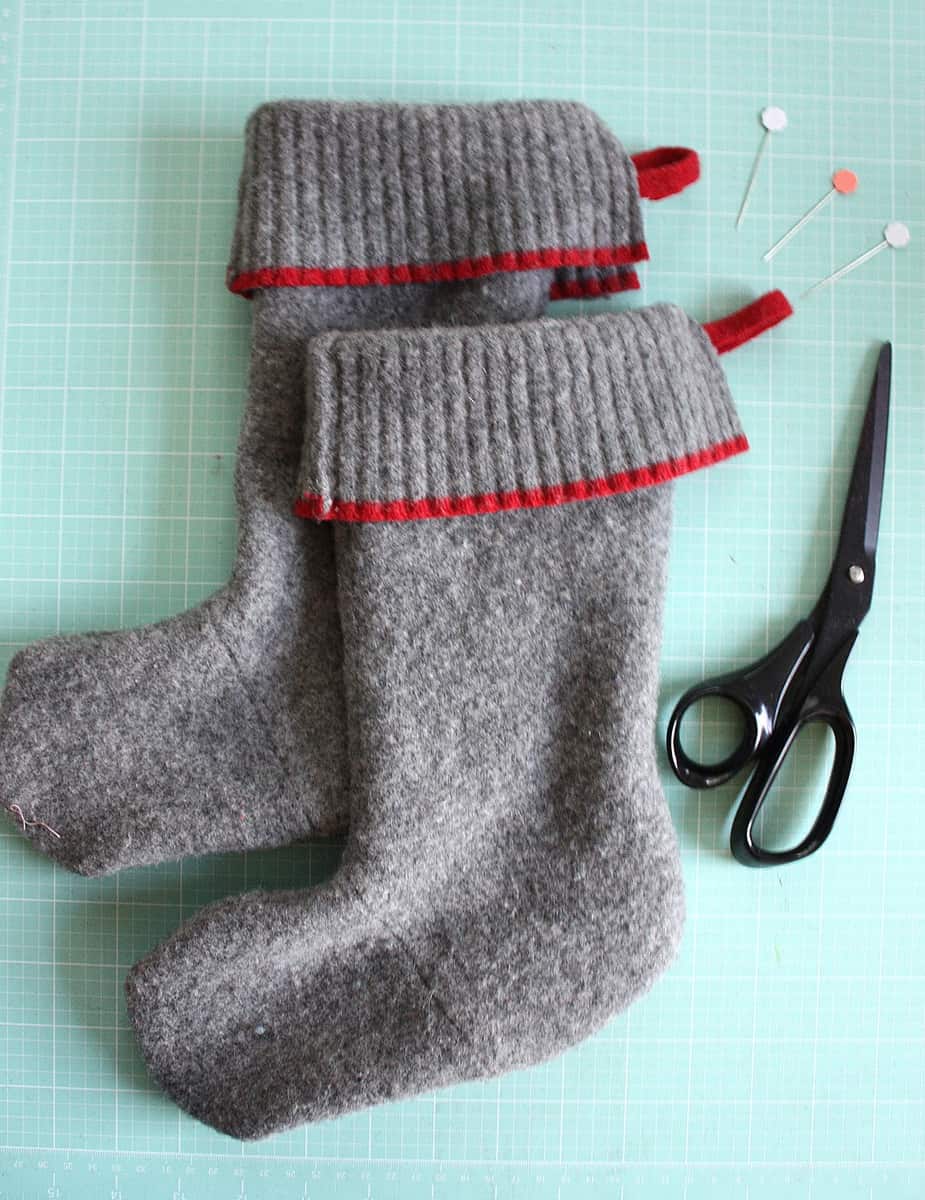
After sewing, turn stockings right-sides out and carefully shape the rounded edges. (If the curves are feeling angular, you may want to go back and trim notches in the seam allowance.)
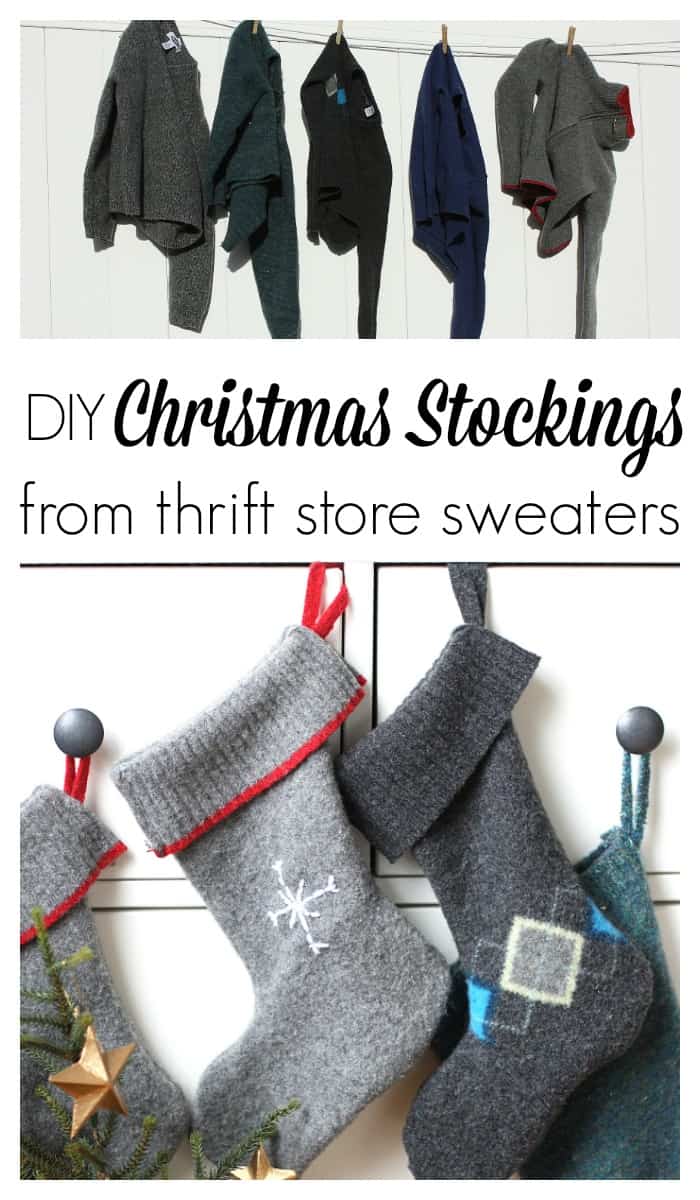
Using the details of the thrifted sweaters can make your stockings unique. I was really hoping to find some good Fair Isle or other patterned wool sweaters, but there weren’t many available the day I hit the thrift store. You could also add your own embellishments to the sweater using some yarn and darning needles. (I added the snowflake after I pieced the stocking, but hindsight, I’d recommend adding the embellishments before you sew the two sides together.)
These stockings are SO easy to make and look good with so little effort!
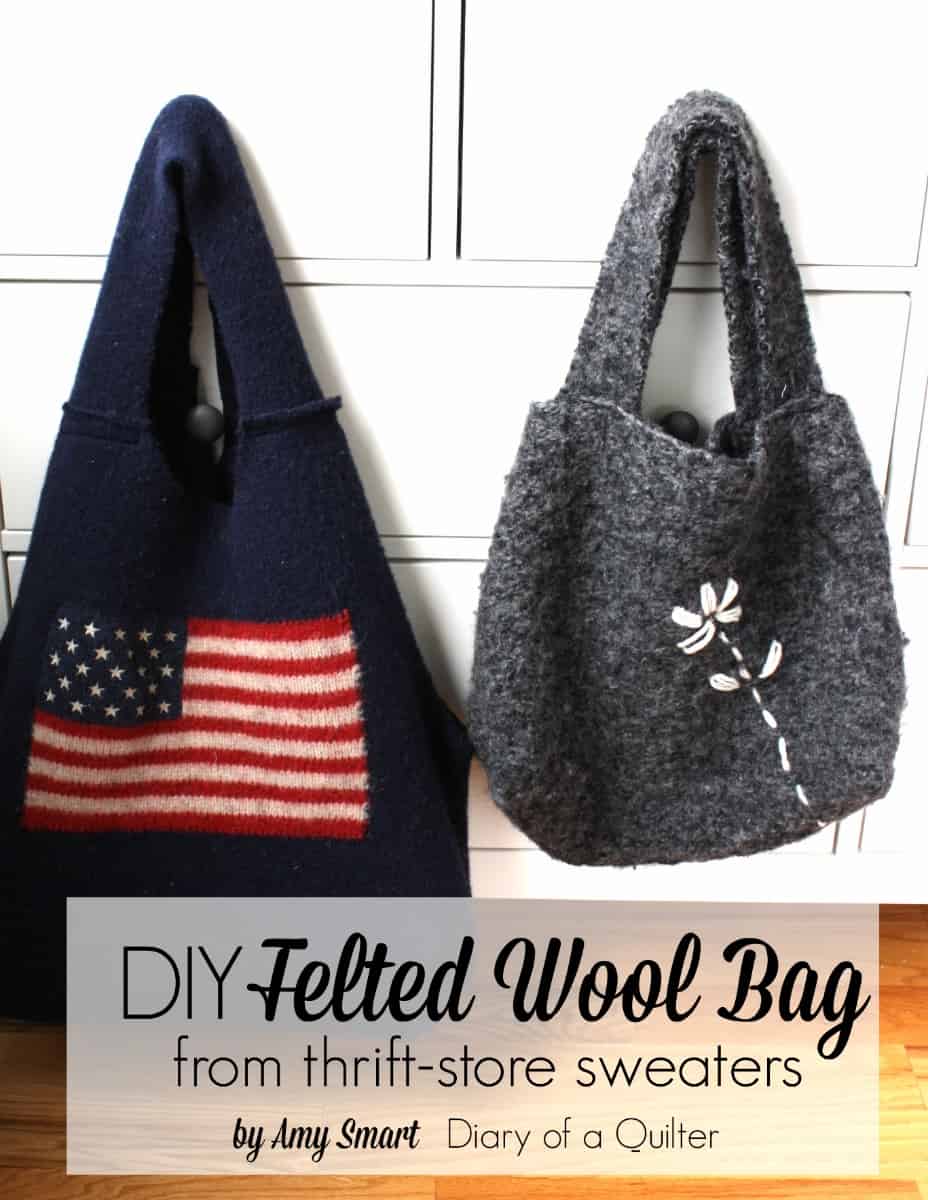
I also made a couple of bags from some of the thrifted sweaters. I’ve got those instructions, plus other ideas for using your leftover wool scraps on my blog.
For some other fun and easy Christmas inspiration you might like:

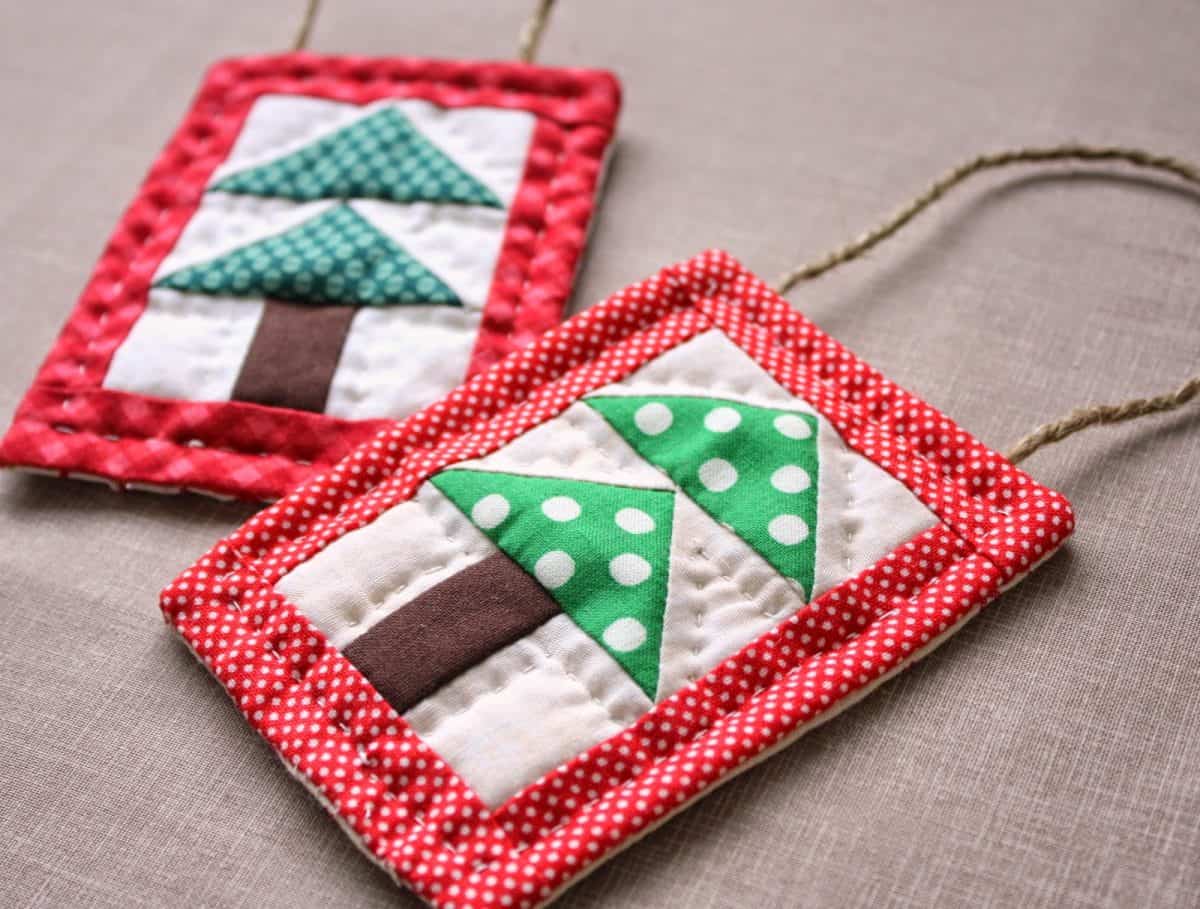
Mini Christmas Tree Quilt ornaments

 Amy Smart is an avid maker and especially loves working with fabric. She is the author of the blog Diary of a Quilter where she loves to teach other people how fun it is to make a quilt. She is the author of the book Fabulously Fast Quilts and numerous other quilt patterns. You can find her sharing more ideas and inspiration on Facebook and Instagram.
The post Easy Stockings from old sweaters appeared first on Skip To My Lou.