
It is summer and time for ice cold lemonade. Kids love selling lemonade! Here are lemonade stand plans you can build in an afternoon.


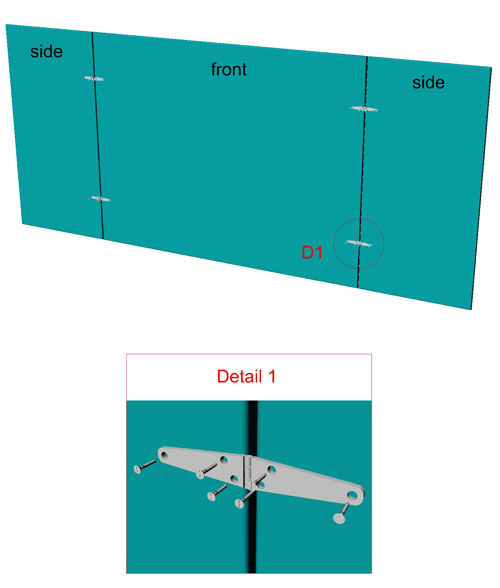
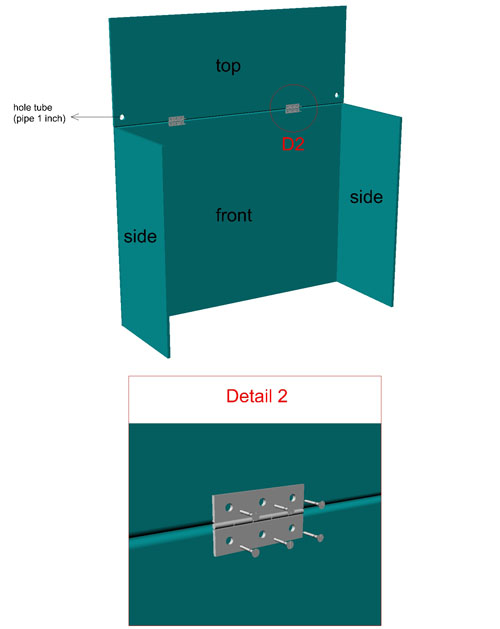
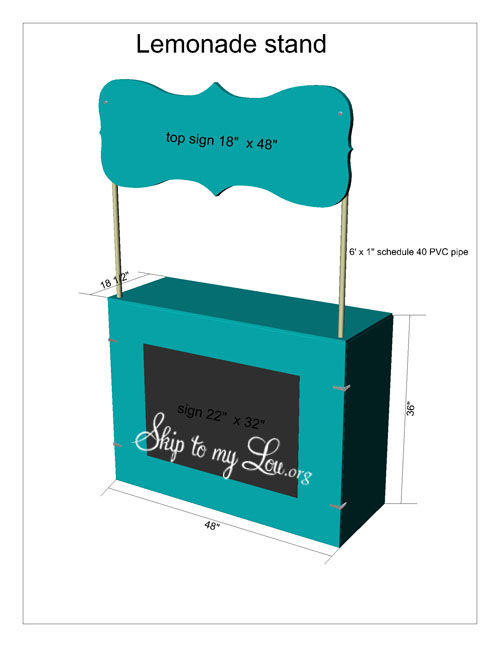
This wooden diy lemonade stand is built from a 4′ X 8′ sheet of 1/2″ plywood and some Masonite for signs.
![free lemonade stand plan free lemonade stand plans]() How To Build A Lemonade Stand
How To Build A Lemonade Stand
4′ X 8′ X 1/2″ sheet of plywood
4′ X 4′ X 1/8″ sheet of Masonite
4 – 4″ Strap Hinges (hooks sides to front)
2 – 3″ Door hinges (hooks top to front)
36 – 8 X1/2 flat head phillips wood screws
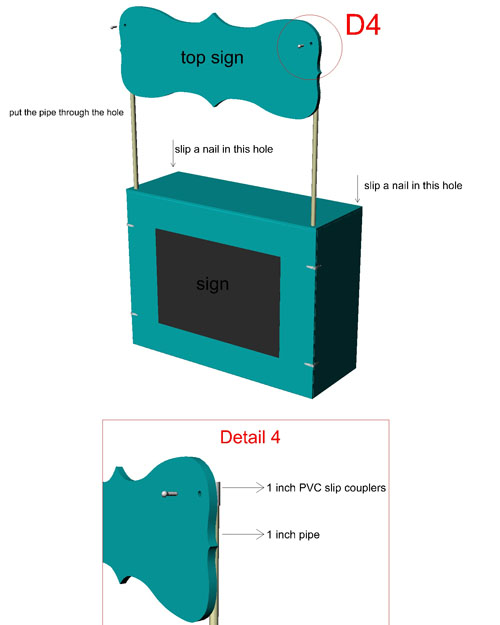
2- 8 X 5/8 philips metal screws (hooks plastic pvc coupler to sign)
2 Nails approximately 2″ long
Drill
Drill bit #8 or 11/64″
2 – 1″ PVC Slip Couplers
2 – 3 inch L Brackets
4 – 8 X 3/8 Flat Phillips Metal Screws
Paint , I gave the stand a coat Pantone’s “Color of the Year” Emerald Green Valspar paint from Lowes.
Cut from plywood:
Top 48″ x 18 1/2″
Front 36″ x 48″
Cut from Masonite:
Sign 22″ x 32″
Top sign 18×48
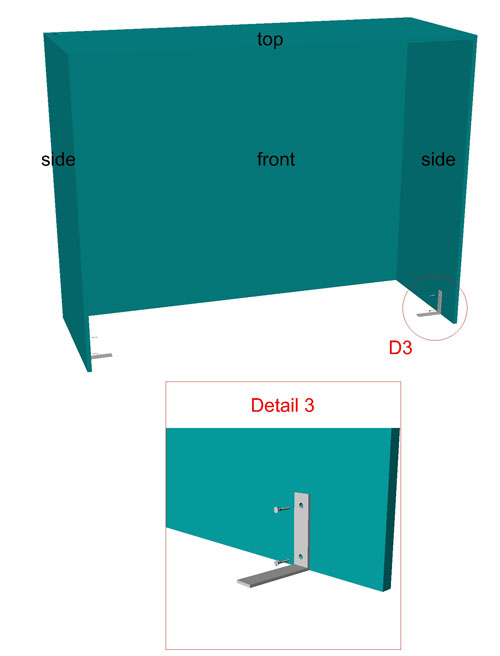
The best part is when you are finished selling lemonade the stand folds flat for easy storage!
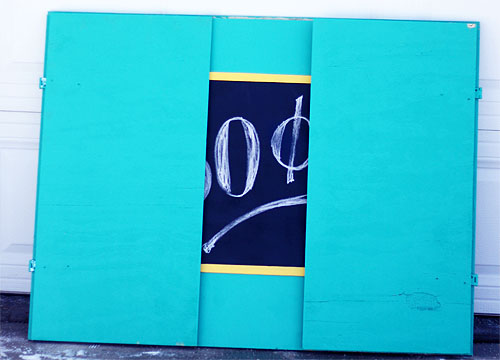
These girls are on there way to making their first million!

If you are looking for ideas to beautify your outdoor space Lowe’s has all the tools you need to be creative. Check out their Lowe’s Creative Ideas blog and be inspired! You can find Lowe’s Creative Ideas on Facebook and don’t forget to pick up a FREE Subscription to Lowe’s Creative Ideas Magazine. Their magazine is fabulous!
As always my DIY supplies are from my go to store Lowes. Thanks Lowes for sponsoring this post!
The post How To Make A Lemonade Stand appeared first on Skip To My Lou.
 /a>
/a>